 LOGSORTIE
Osmo Pocket 4P C1, C2 and C3 settings: D-Log 2, D-Log and slow motion
The Pocket 4P lets you save full setups as custom modes (C1, C2, C3…) and switch between them in a second. I use three: one for D-Log 2, one for D-Log and one for slow motion. Here's how I set them up, why, and how to save them step by step.
Why it's worth it
If you shoot Log in manual, every profile change means touching half a dozen settings: profile, frame rate, shutter, ISO, white balance… And when you're in a hurry it's easy to forget one and only notice once you're home.
With custom modes you set everything up once, calmly at home, and out shooting you just pick C1, C2 or C3. Everything changes at once and there's nothing left to forget.
How many modes can you save?
More than three. On my camera, after saving C3 there's still a slot with a + to add another one, and other users mention up to four (C1 to C4). Three is plenty for me, but if you also shoot photos or something very specific, there's room.
How to save a custom mode
- First set the camera up exactly how you want it: mode, resolution, frame rate, color, shutter, ISO, white balance… What gets saved is whatever you have at that moment.
- Swipe down from the top of the screen to open the control center.
- Tap the first icon, the little person: that's custom modes.
- Pick the slot you want (C1, C2…) or tap the + for a new one.
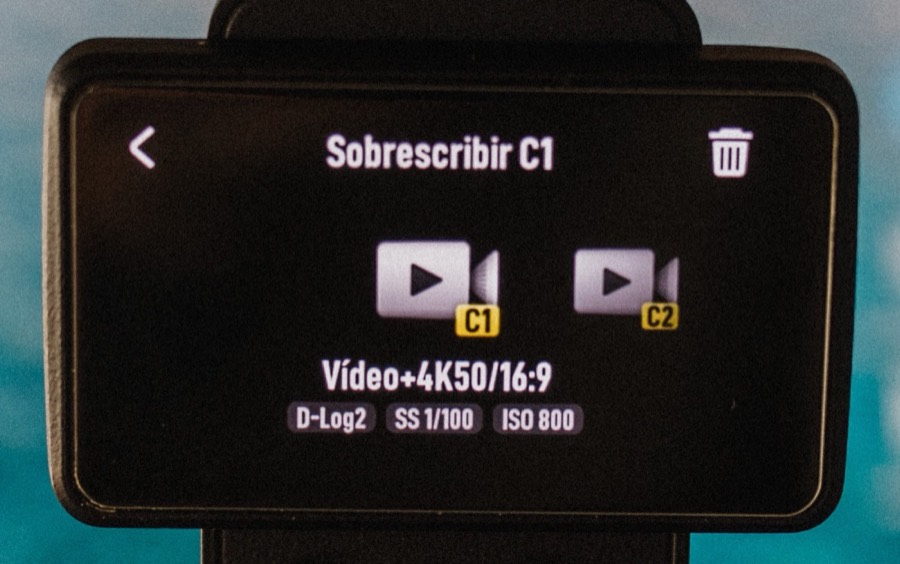
- The camera shows a summary of what it's about to save, titled "Overwrite C1". Check it and confirm.
To use it later, go back to the same icon and tap the mode you want.
My three modes at a glance
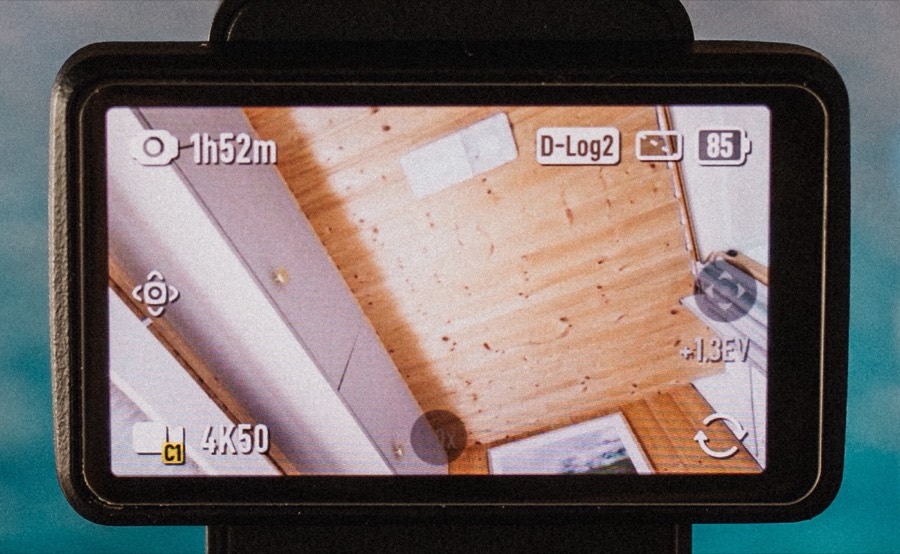
- C1: video 4K 50fps, D-Log 2, 1/100, ISO 800, 5600K. The one I use almost all the time.
- C2: video 4K 50fps, D-Log, 1/100, ISO 400. For when I can't use D-Log 2.
- C3: slow motion 4K at 100 fps, D-Log, 1/200, ISO 400.
I shoot 50fps because I'm in Europe. Mains power here runs at 50 Hz, and if you shoot 60fps under indoor lights or street lamps the image can flicker. In North America, where it's 60 Hz, do the same with 60fps and 1/120.
C1: D-Log 2, my everyday mode
D-Log 2 handles bright highlights better and keeps more color information, so you have more room when grading. The catch is that it only works on the 1x lens and not in slow motion. That's why one mode isn't enough and I also have C2 and C3.
Color: D-Log 2 10bit
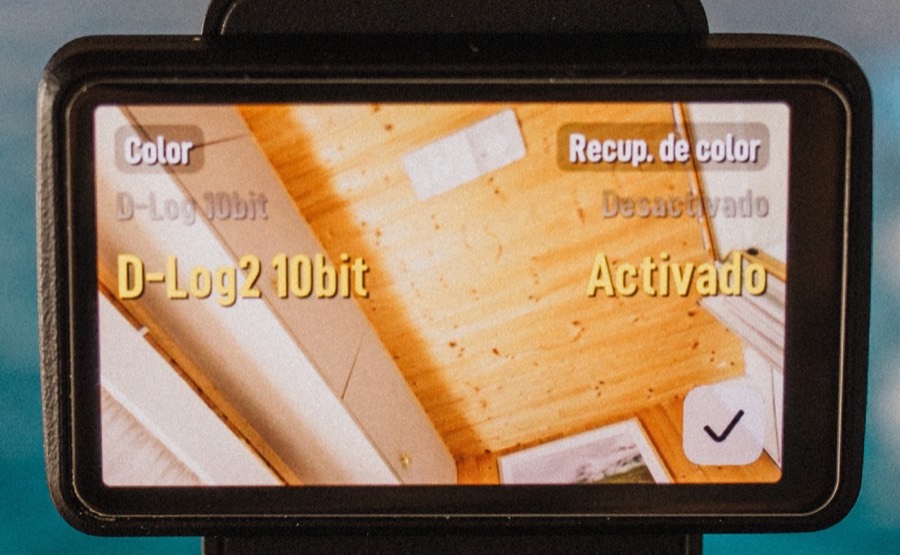
In the color menu, pick D-Log2 10bit. Those 10 bits are what let you push the color when grading without the sky turning into steps. I leave color recovery on.
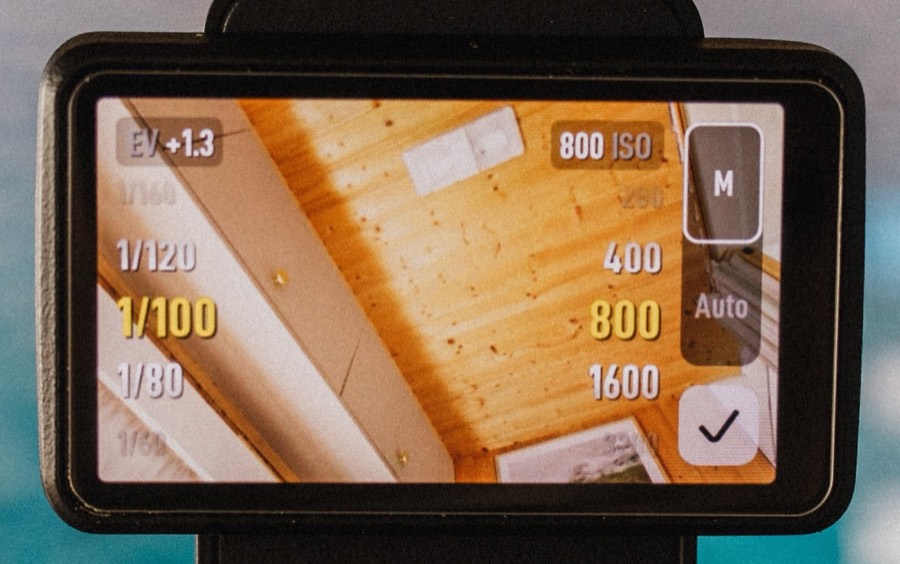
Shutter 1/100: the 180° rule
Leave the shutter on auto and in daylight the camera goes to very fast speeds, so motion looks choppy, very phone-video. The 180° rule is simple: shutter at double the frame rate. At 50fps, 1/100. Each frame gets a little blur and motion looks smooth, like film.
The problem is that with a fixed shutter, in full sun there's too much light. That's what ND filters are for: sunglasses for your camera. They cut the light so you don't have to touch the shutter.
ISO 800 in D-Log 2
In D-Log 2, ISO 800 is the balance point. Drop to 100 and you lose highlight room, which is exactly what you want D-Log 2 for. Go up to 1600 and you gain room, but also noise. 800 is the middle ground.
White balance locked at 5600K
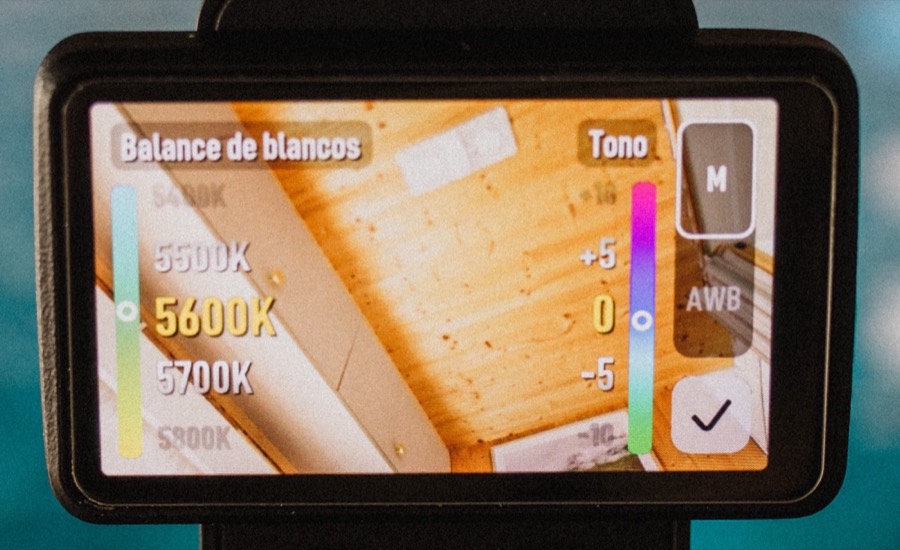
On auto, the camera keeps shifting the color while you record: a cloud passes, you walk into shade, and white turns bluer or more orange. Then in the edit every clip has a different tint and you match them one by one. Locked at 5600K, daylight, they all match and you correct them in one go. I leave tint at 0.
Texture −2 and noise reduction −1
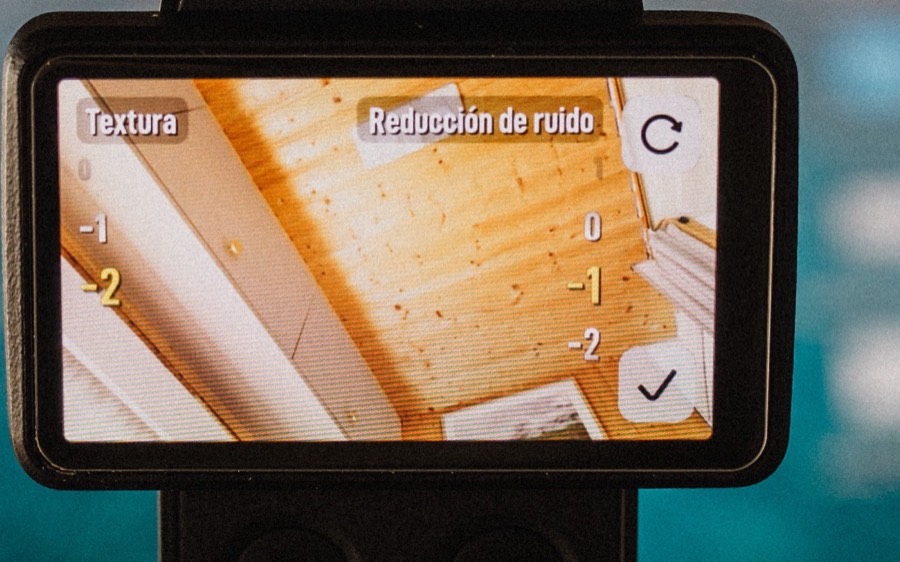
The camera sharpens and denoises on its own, and sometimes it overdoes it: you get an artificial, plasticky look. Turning them down a bit gives a more natural image, and if you want more sharpness you add it in the edit. The other way round doesn't work: what the camera over-sharpened can't be undone.
Continuous focus and high bitrate
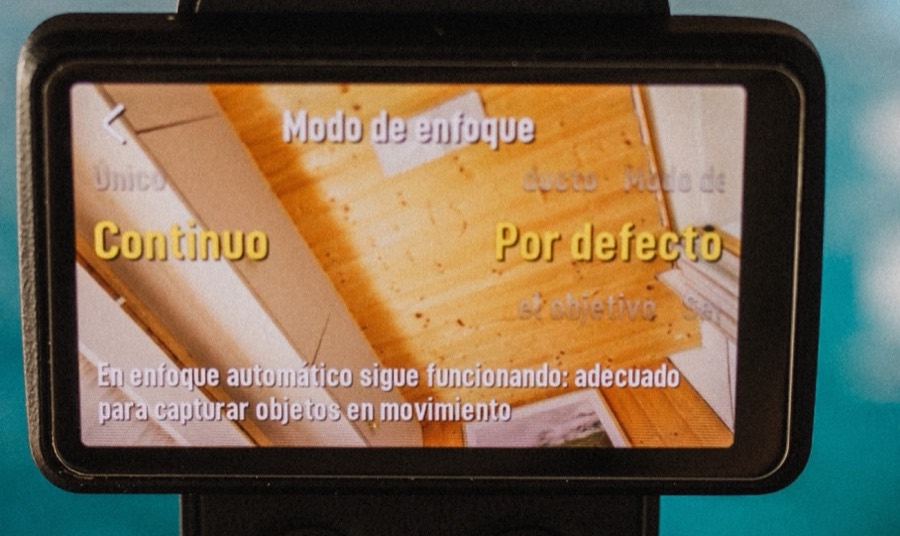
Continuous focus keeps tracking whatever moves, which is the most practical with a camera you hold in your hand. And bitrate on High: files are bigger, but the image is less compressed. With Log you really notice it, because grading stretches the image and compression starts to show.
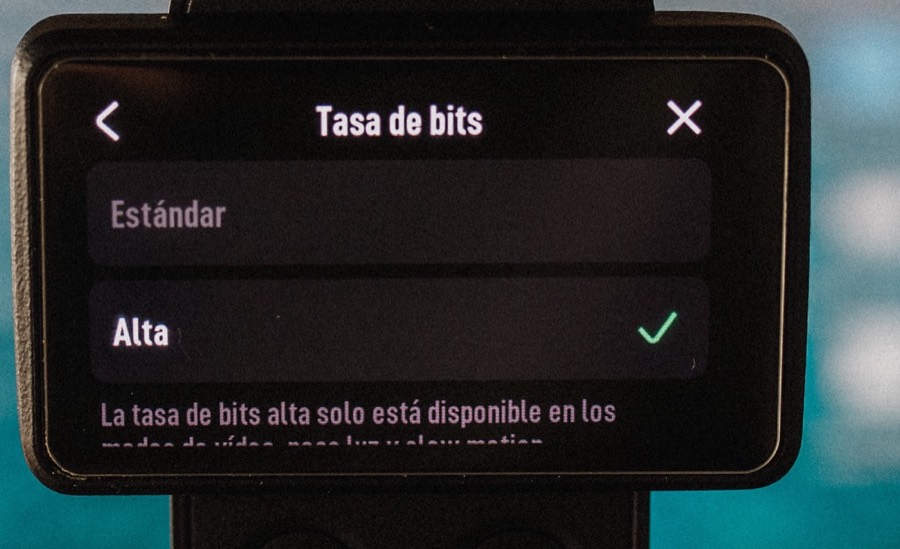
With all that set, save it to C1 as explained above.
C2: D-Log, for when D-Log 2 isn't available
Almost the same as C1, but in D-Log and at ISO 400, where this profile works best. I mostly use it with the 3x lens, where D-Log 2 isn't available. Everything else stays the same as C1, so clips from both modes look as close as possible and are easier to match later.
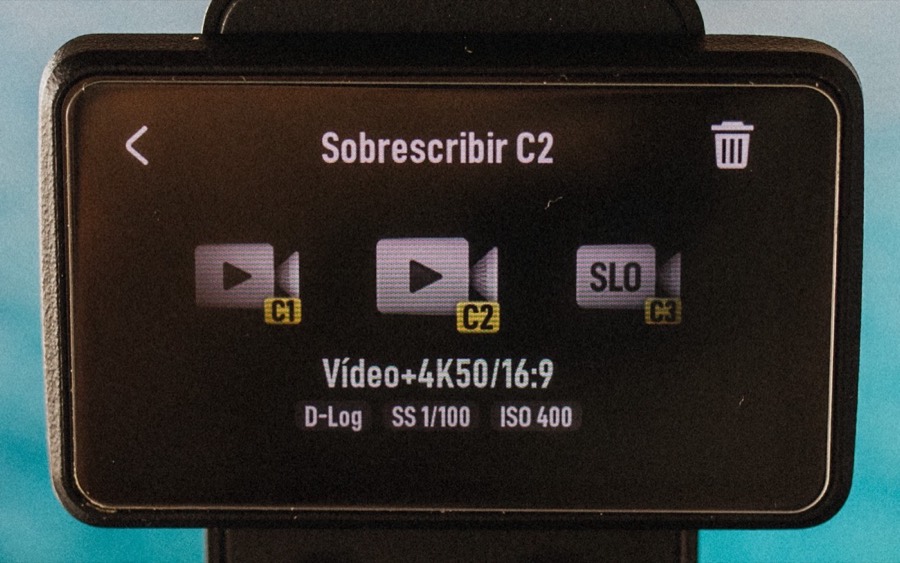
C3: slow motion at 100 fps
Slow motion 4X (100), in D-Log, at 1/200 and ISO 400. I pick 100 fps instead of 120 for the same reason as before: under 50 Hz light, 100 doesn't flicker. And 1/200 is exactly double 100, so it follows the 180° rule too.
A warning I learned the hard way: at 1/200 you get half the light of 1/100. At midday it doesn't matter, but at sunset, and even more with an ND on, the clip comes out grainy. When the sun goes down, take the ND off first. If it's still too dark, then raise the ISO.
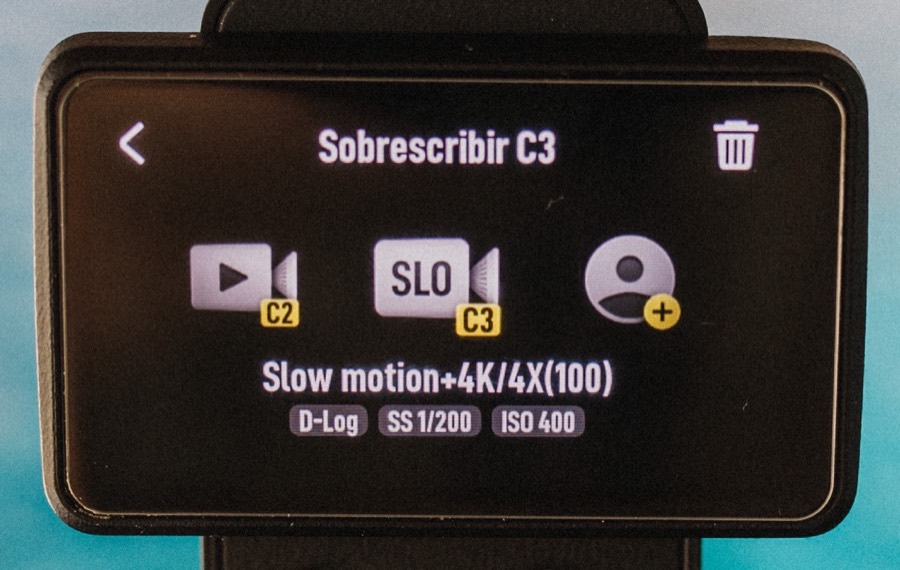
Keep in mind the camera saves these clips already slowed down, at 25p, so on your computer they look like normal clips. More in Osmo Pocket 4P slow motion.
Switch between C1 and C2 with one tap
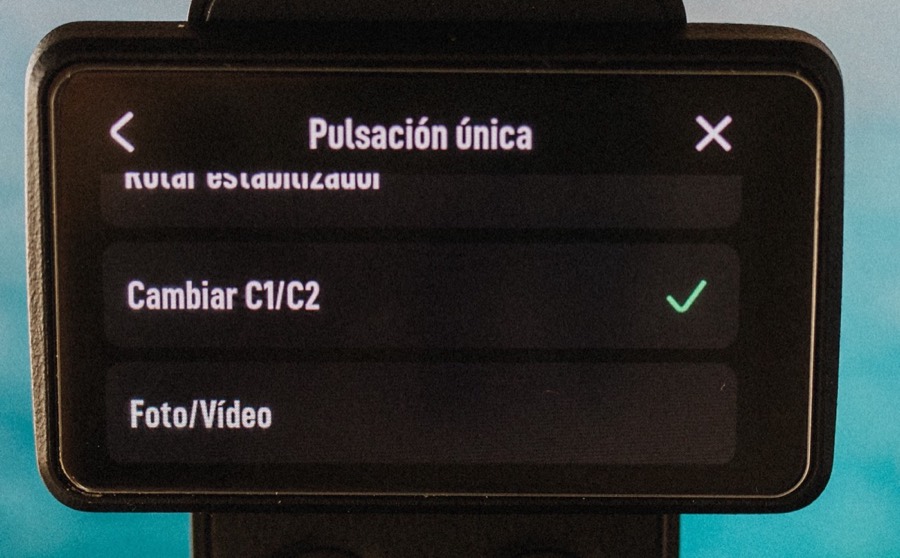
This is what I use most. Set the custom button to "Switch C1/C2" and one tap takes you from D-Log 2 to D-Log and back, no menus. Really handy when you switch to the 3x lens in the middle of a shoot.
To set it up, open the control center (swipe down), go into Custom Button, pick single press and select Switch C1/C2. I use single press because it's the quickest.
And then, back home
The good part is that shooting is easy. The bad part is you come home with D-Log 2, D-Log and slow-motion clips, all mixed in the same folder on the card with almost identical names. And each group needs its own conversion to Rec.709: see Osmo Pocket 4P D-Log 2 to Rec.709.
LogSortie separates D-Log 2, D-Log and slow-motion clips into folders, so each group gets its own conversion. More about LogSortie